
A Bit Different
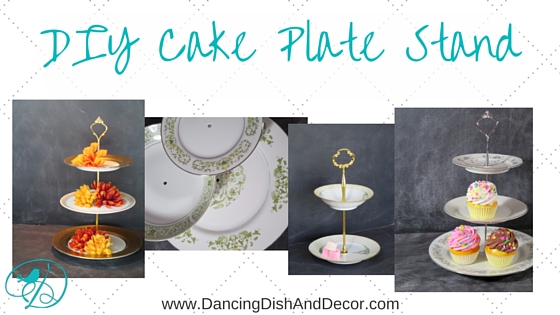
Another Etsy shop owner contacted me recently asking how I make my tiered cake plates. It made me realize I’ve never shared that with you. So this post is a bit different as I’ll share my not so secret DIY cake plate stand instructions.
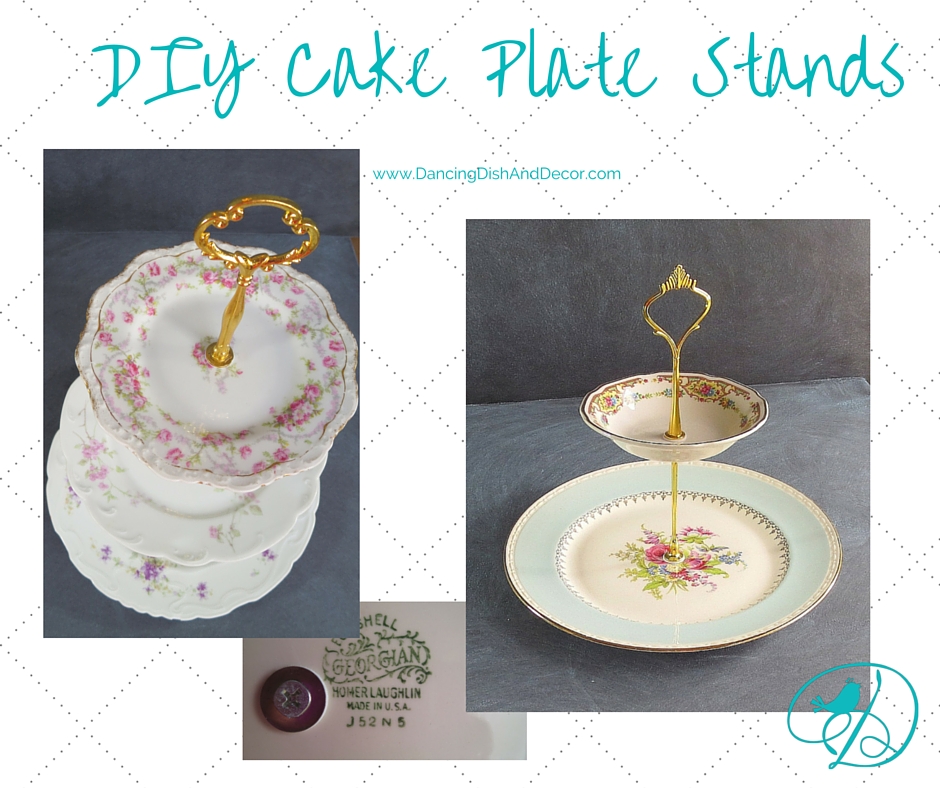
Pick Your Pieces
If you don’t already have china that you wish to use to make your cake plate, you’ll first have to go in search of those pieces. Decide what colors and styles you want to use. Shabby, Cottage, Industrial, Modern, Hollywood Regency, etc. China comes in many, many styles. When shopping hold your pieces up to the light to verify there are no hairline cracks. If your piece has crazing it should be okay to drill.
Suggestion: If you are nervous about drilling purchase some inexpensive pieces from a thrift shop or yard sale to use to test. Have courage and drill!


Pick Your Hardware
Once you choose your china, you need to choose the color and style of hardware you prefer. There are several styles to choose from and for the most part the colors are silver or gold. I have seen pink, black, and red. Some day I am going to experiment with spray painting mine to see if I like it (with food-safe paint, of course). The pieces screw together and are pretty standard. One thing to be aware of is that if the lowest plate in your stand has a very flat bottom it might rock with the screw that normally comes with the standard hardware. You may need a special flat screw that does not come with most sets of hardware. Most plates are fine without the flatter screw, I just would not want you to be disappointed.
Diamonds Are A Girls Best Friend


Usually the diamond drill bits come with the oil needed to keep everything cool while you are drilling, if your bit does not, you will need to purchase that as well.
Get Centered
When I first started drilling plates I would measure the center point and mark it before drilling. As usual I had to figure out a way to streamline this process so I could be more productive. I used my Silhouette Cameo to cut several templates of various sized circles. They have a circle in the middle for where to center the hole. So I match the template to the plate, center it and use a Sharpie to mark the center spot. I usually mark and drill from the back side of the plate.
I’m not really sure if this step makes a difference, but I also put a piece of painting tape on the other side of the plate in the place where I am drilling. I think doing that helps prevent some chipping around the drilled hole. That might be my imagination, but it makes me feel better.
Be Safe
You will hear a rather high pitch sound as you drill the china. I wear earplugs and safety glasses when drilling. You should do the same, you don’t want your creative adventure to turn into a creative disaster. Your pets might not like the sound either.

Get Set…Drill
Now that you have all your supplies, tools and safety equipment you are ready. I place my plates on a piece of cardboard on a level surface. Then put a couple drops of lubricant on the center spot. Turn on your Dremel or drill and start drilling. I drill for about 10 seconds, lift the drill and add couple drops of lubricant, then drill some more. Keep doing that rotation until the hole is complete. Drill your second and third plates.
There will be some mess from the oil and the dust. Next you just need to wash and assemble your beautiful new plate stand. Always hand wash china, even if it says dishwasher safe it is really best to wash by hand and not expose it to the high heat of the dishwasher. Since you have now drilled these pieces you have broken the seal of the finish. That hole is covered when the hardware is in place, so it is food safe. However if you put your drilled plates in the dishwasher or soak them for any length of time the water will seep into the china. It won’t be pretty any more. Here is a copy of the assembly instructions that I send with each plate stand that I ship.

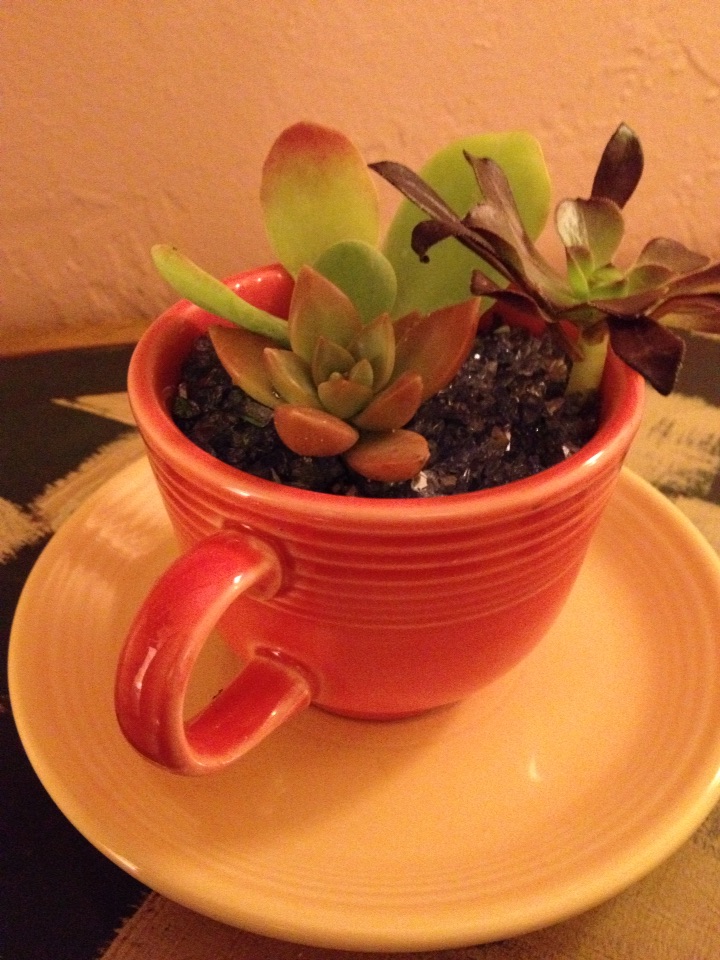
These DIY Cake Plate Stand directions are also good for drilling drainage holes in dishes and pots for using for plants. I had a customer send 23 pieces of Fiestaware to me to drill and the end result is stunning don’t you think?
I’d love to answer any questions that you have or to hear if you give this DIY a try. Leave your comments and let me know.
Blessings,
Lauree
…keep dancing the dream!

Follow Dancing Dish & Decor’s board dancing-dish-decor on Pinterest.


So impressive and beautiful! Thank you for generously sharing your knowledge. I’m loving your cake plate stand idea. I use tools on wood all the time, and never thought about drilling glass or china! Your work is beautiful too!
Thank you so much Wendi. I do love gadgets and power tools!
I love this! I have some china that would look great as a cake plate stand… where do you buy the hardware from?
Thanks for sharing!
If I want it in a hurry I buy from Amazon. If I can wait a few weeks I buy from eBay to get the best prices, but they ship from China which takes a while.